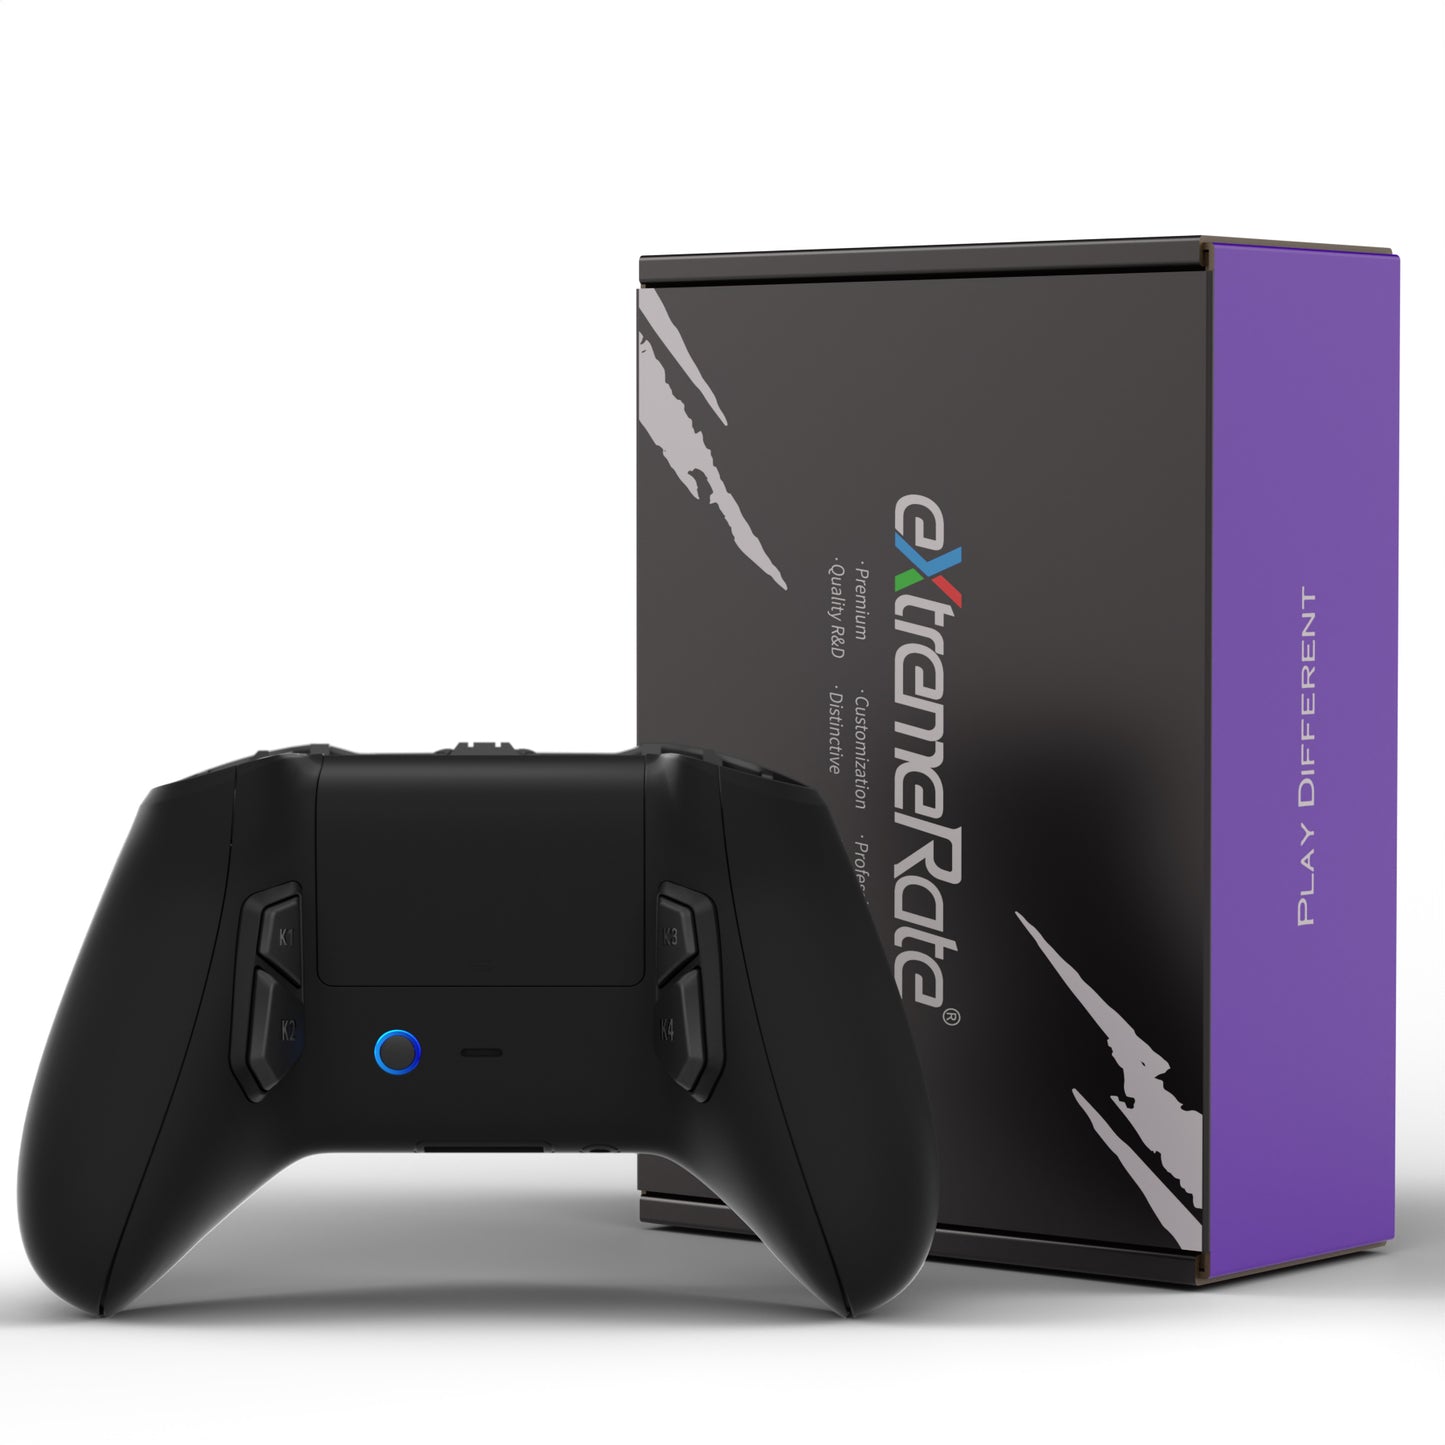


Product Description
- The UPGRADED remap kit VICTOR S for Xbox One S/X controller is finally here!
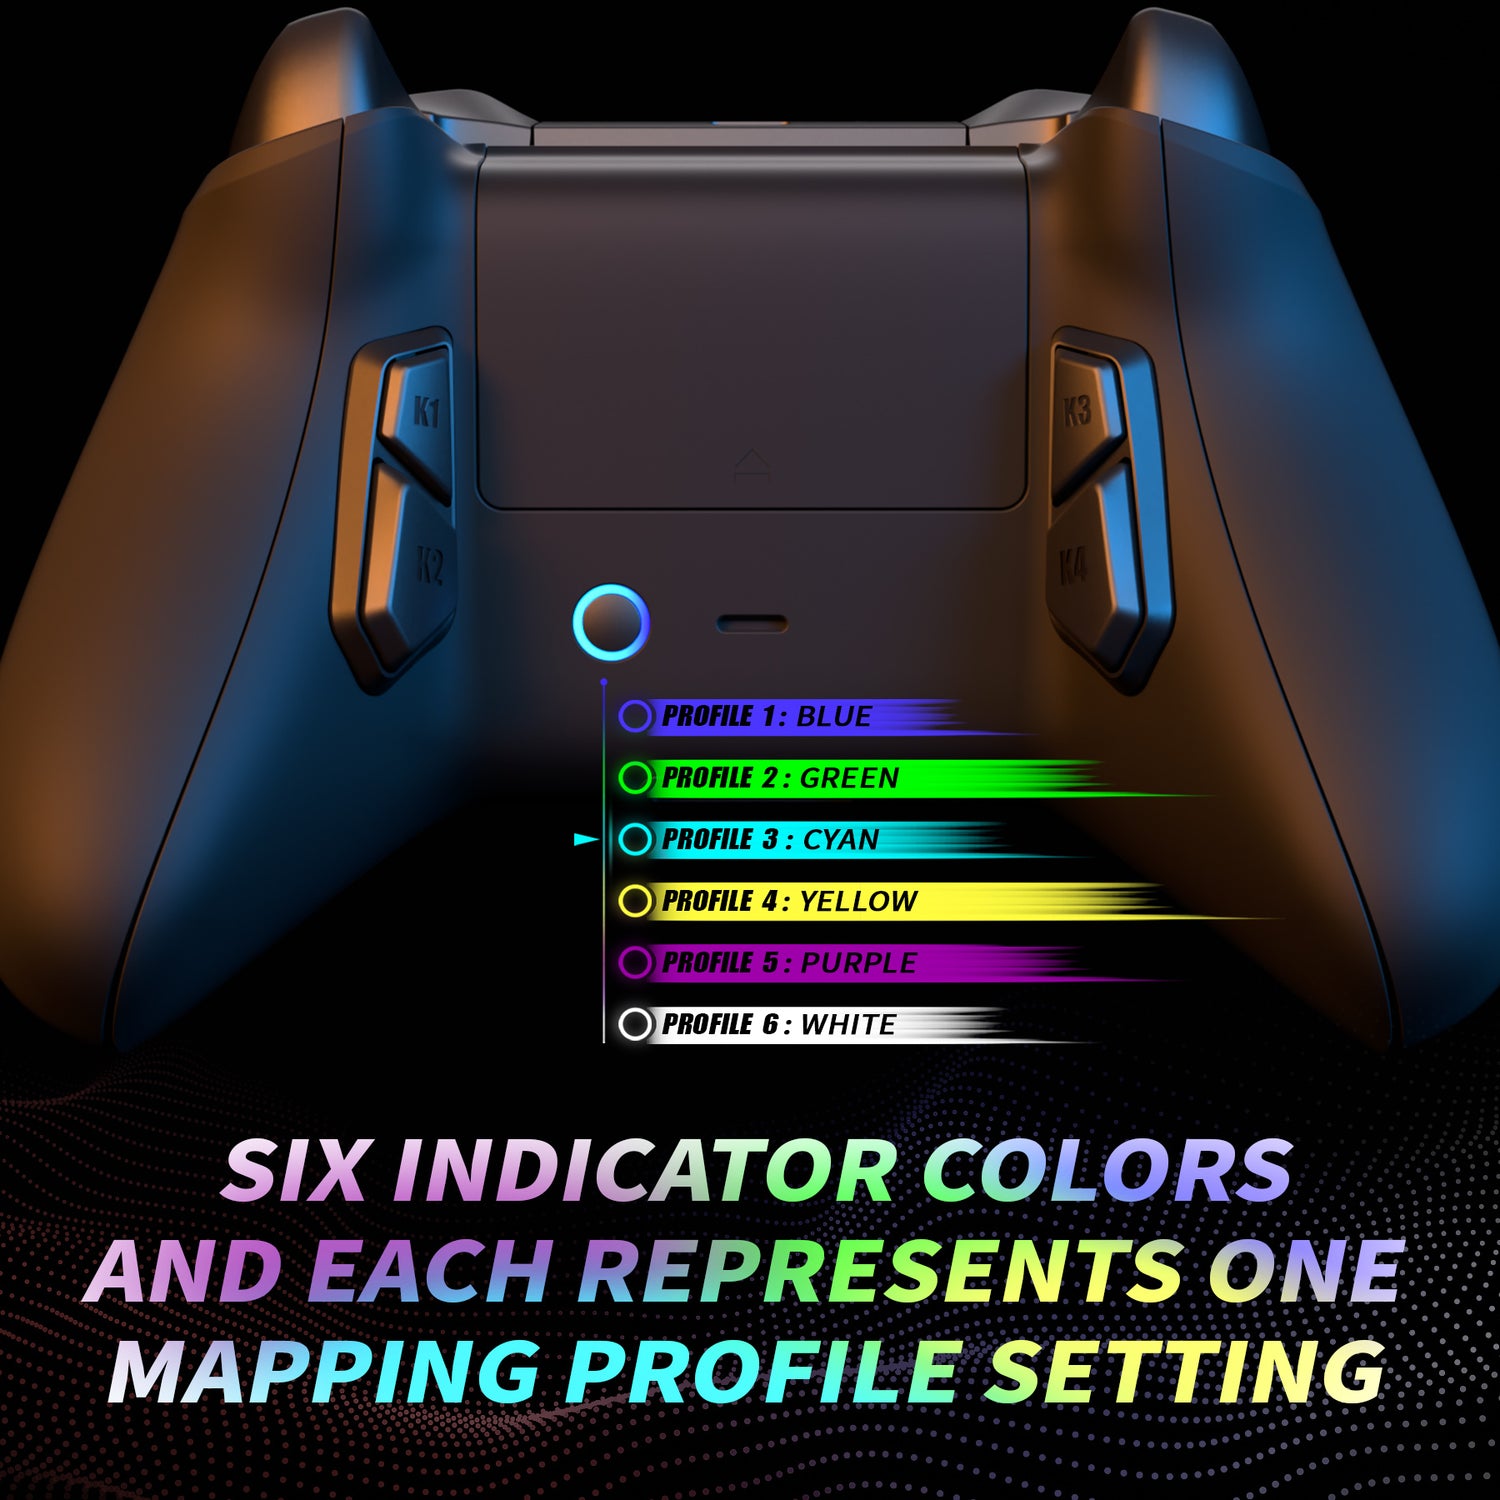
- With the latest VICTOR S remap kit, the 14 function buttons of the controller can be remapped to the 4 back buttons. 6 different mapping profiles can be archived which provides more setup mode options to choose during the game.
- Shoot faster, a great assistant for FPS/TPS players!

Prepared for e-Sport Tournaments:
- The eXtremeRate VICTOR S remap kit is an evolutionary upgrade kit that adds advanced gaming functionality to your existing controller for Xbox One S/X.
- With this remap kit, you can easily turn your existing controller into a professional e-Sport gamepad with additional 4 programable remap buttons.

- This remap upgrade solution gives you a competitive edge in online gaming and tournaments, and is totally legal.
- You can remap 14 buttons to the 4 back buttons which will be pressed by your middle fingers. The height difference of the back buttons design reduces misclicking during the game.

- Six profiles correspond to six indicator LED colors: blue, green, cyan, yellow, purple and white.
- It’s a huge advantage for you because you don’t need to move off the sticks and triggers to access other buttons like ABXY action buttons during fast FPS or shooter games.
-
Notice:
1. ONLY fits for Xbox One S/X controller (Model 1708); Not compatible with other model controllers and other 3rd parties charging station.
2. The controller and other parts are NOT included.
3. You need to take apart your controller for installation, soldering and high hands-on skills are required.
4. Tap here to check the installation guide video: eXtremeRate Xbox One X/S Controller (Model 1708) Victor S Remap Kit Installation Guide
5. Compatible with eXtremeRate Clicky Kit and DTF LED Kit for Xbox One S/X controller.Package Includes:
1x PCBA board set (remap board and tester board)
1x FPC1/FPC2 cables
1x Redesigned back shell with battery cover
1x Left/Right side rails
4x Back buttons set
1x Prying tool
1x T8h/T6/Cross screwdrivers
28x Screws -
-
Installation Tips:
1. Installation difficulty: high
2. Patience needed: high
3. Please view the installation video carefully before installation.
4. Tap here to check the installation guide video: eXtremeRate Xbox One X/S Controller (Model 1708) Victor S Remap Kit Installation Guide
5. If you have any problems during the installation process, please feel free to send us a message.
6. The FPC board needs to be soldered and the FPC board should be fixed with double-sided tape before soldering.
7. Please note that if you have installed eXtremeRate Lofty remap kit, and want to turn it to Victor S remap kit, then you don't need to solder again.
8. When soldering, please be careful not to pull the FPC cable, the soldering time of each TP point is less than 1 second. After soldering, it can be tested with the test board.
9. If all the LEDs on the tester board are not lit, please check FPC 1-GND and TP35 solder points on the FPC cable to see whether soldering correctly, if not, fix them.
10. If only some of the LEDs are not lit, please check the corresponding solder points on the FPC cable to see whether soldering correctly, if not, fix them.
11. Double-click the setting button to swift the profile you want to use or configure.
12. Press and hold the setting button for 3 seconds, the light will flash, then enter buttons programming mode; press and hold the setting button for 3 seconds again the light will stay and exit the setting mode.
You can activate the remapping program during the game and assign a maximum of 14 buttons (A, B, X, Y, L3, R3, LT, RT, LB, RB, Up, Down, Left and Right ) to the back buttons. -


