eXtremeRate
eXtremeRate Clicky Hair Trigger Kit for Xbox Series X & S Controller (Model 1914)
Couldn't load pickup availability
With it, you will have a faster trigger response, get a huge advantage in games such as shooting.
Shoot faster, great assistant for FPS / TPS players!
Kind Reminder:
1. Specially designed for Xbox Series X/S controller (model 1914).
2. NOT compatible with other model controllers (such as Xbox One, ps4, Switch, etc.).
3. NOT suitable for racing games.
4. Controller NOT included.
Product Feature:
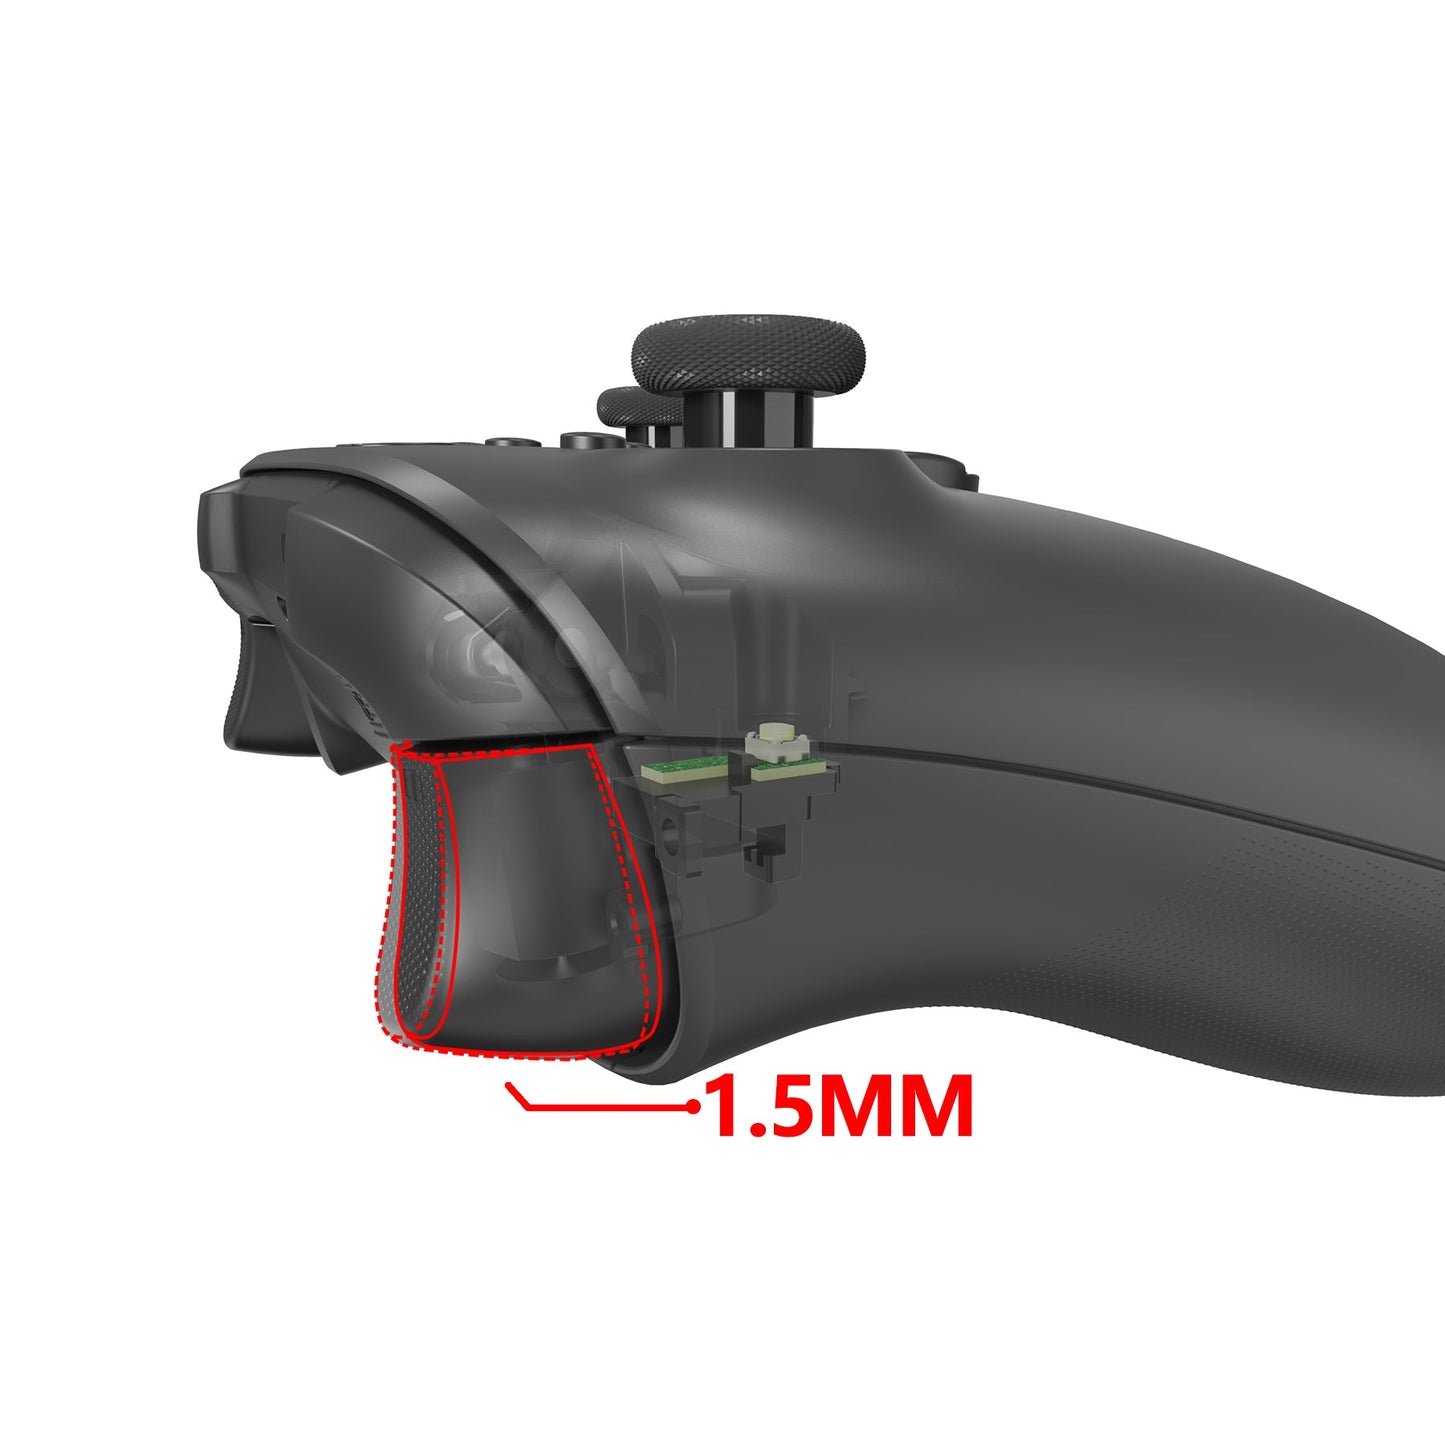
1. Clicky trigger kit can greatly improve the function of the Xbox Series X/S controller LT RT shoulder buttons.
2. These accessories can help you fire faster and save valuable time during fast FPS or shooter games.
3. Just press down 1.5mm, the function of LTRT can be triggered, save 4.5 times the distance.
Installation Tips:
1. You need to take apart your controller for installation, basic hand-on skills required.
2. The Clicky FPC boards need to be soldered.
3. When soldering, pay attention to find the solder points corresponding to the Clicky FPC board, please refer to the 4th picture for instructions.
4. Tap here to check the installation guide video: eXtremeRate Xbox Series X/S Controller (Model 1914) Clicky Hair Trigger Kit Installation Guide
Package Includes:
1* Clicky FPC board (RT<)
1* Built-in Clicky bracket kit
1* Prying tool
2* Screwdriver
8* Screws
Note: The controller, trigger button and other parts are not included!


These work great easy install I've bought three kits so far
Only problem with this installation is the difficult in placing the small micro switch boards on the plastic mounts. With a small amount of trimming on the board they seated much easier.
Soldering the wires on the small dots was a bit of a challenge also.
I also placed a small piece of the foam tape that was supposed to be used to secure the wires under where the micro switches contacted the board to protect them.
Otherwise the installation was successful.
Hello friend,
Thank you for your feedback and we apologize for your dissatisfaction.
We always strive to provide excellent service, but this time we did not meet your expectations.
The installation process of this kit requires welding, which is more complicated.
If it is convenient for you, please contact our customer service “info@extremerate.com” and we will be happy to resolve the issue you mentioned.
Thank you again for your feedback and we look forward to earning your trust and support again.
Looking forward to your reply.
Warm Regards.
This mod set the bar for what a trigger should feel/ behave. And even now after switching to an Elite 2 controller i kinda miss these. The reason I stopped playing with my modded controller was because the buttons kept failing. I like to play 6-10 hours of FPS a week, and they would fail after 2-3 months. I did this mod on 2 controllers, just so I can have a working controller while I wait for replacement clickers. I’ve gone through 2 sets now. OH BUT WHEN THEY WORK!!! They feel phenomenal I wish my Elite controller felt like these clicky hair triggers.
For the people who are interested on how they fail:
The clicker just doesn’t reengage, it’s like its seized. I did find out you can use the right clicky trigger on the left trigger. You have to modify the bracket but it works.
When they work they are great but I have had to open up my controller four or five times to re solder the wires back on. And the wires that keep disconnecting are the side that are already soldered from manufacture
Friend, we have sent a message to solve the problem for you. It would be appreciated if you can check our message and give us a reply.


